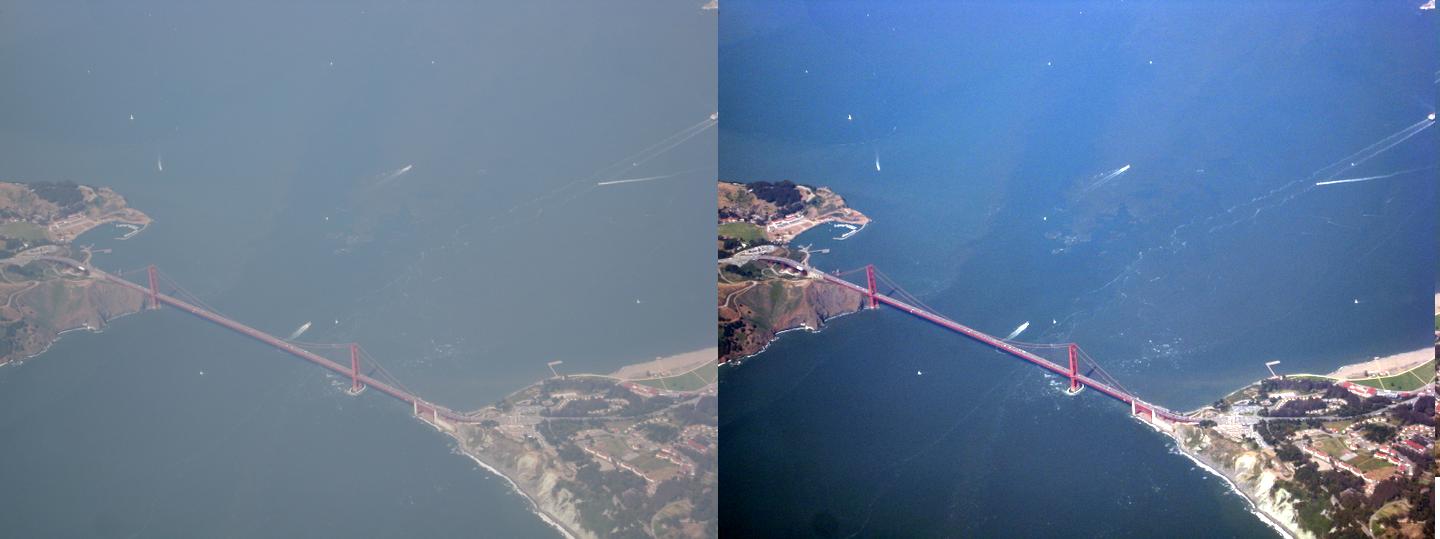
This is a continuation of Part 1 of my Picasa discussion.
I am continually surprised by how powerful the relatively simple photo tuning tools of Picasa are. Take for example this photo my wife snapped while flying from Seattle to San Francisco, and how easily Picasa turns it into a great picture.
Here is the original photo:
First all I do is apply an “I’m Feeling Lucky” pass:
Next I straighten the shot:
Then I crop the photo:
Finally I do another “I’m Feeling Lucky” pass:
And there we have it. Quite an amazing difference compared to the first photo. Here is another example before and after thanks to the I’m feeling lucky button (easily my favourite feature in Picasa):
Some more information is available from the Picasa Team about tuning photos.


Pingback: The blog of all and sundry » Blog Archive » Picasa as an example of great design